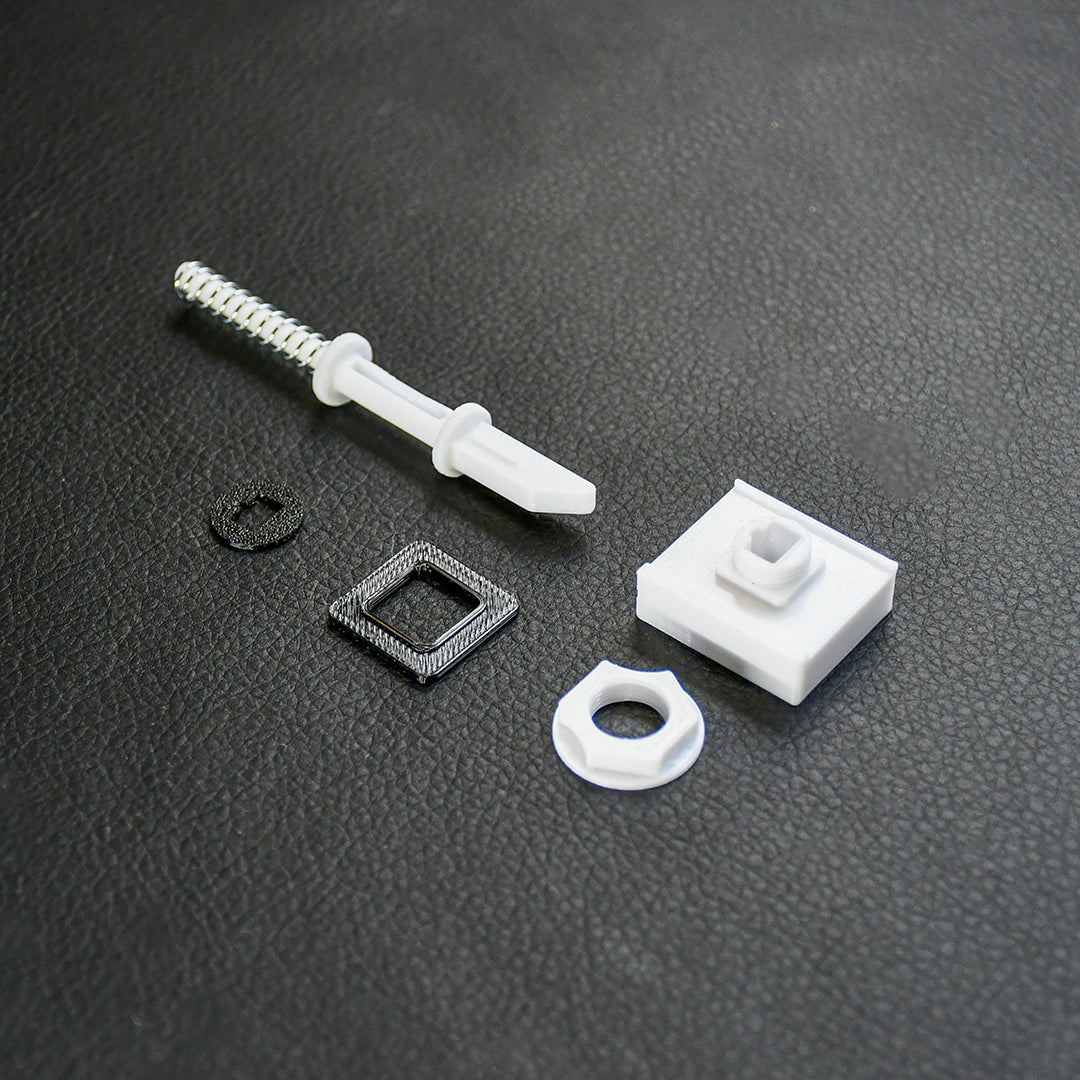
Nissan - Fuel Flap Latch Mechanism
Nissan - Fuel Flap Latch Mechanism
- Ships in 1-4 days
Couldn't load pickup availability
Overview
Our Fuel Flap Latch Mechanism Kit is designed as an OEM+ replacement restoring function to the fuel flap release system. This assembly connects to the interior release cable and enables the fuel flap to open reliably when actuated from the driver’s seat.
Over time, the original components can wear, loosen, or fail leading to inconsistent release or a stuck fuel flap. This kit replaces and upgrades the key mechanical elements of the latch system, ensuring smooth engagement and reliable operation.
*This assembly requires and does not include the OEM metal bracket that connects to the latch release cable.
Features
- 3D printed in engineering grade filament (PETG)
- Interference joint ensuring secure and tight fitment
- No tools required, quick installation
Specifications
The 'Complete Kit' includes 6x components:
- 1x Compression Spring
- 1x Threaded Retainer
- 1x Locking Nut
- 1x Pushrod
- 2x Pushrod Gaskets
The 'OEM Locking Nut' includes 1x component:
- 1x OEM-sized Locking Nut
Compatibility
OEM Nissan Assembly Numbers: 84440M + 84441B
- Skyline R31 / R32 / R33 / R34
- Silvia S13 / 180sx / 240sx / S14 / S15 / 200sx
- Laurel C32 / C33 / C34 / C35
- Stagea C34
Installation Guide
- Slide the spring onto the open end of the push rod.
- Align and slide the retainer onto the opposite (pointed/working) end of the push rod.
- Locate the open end of the push rod with the OEM metal bracket hole/cutout.
Apply forward pressure to compress the spring, allowing the push rod to engage into the bracket guide. - Ensure the retainer clips into the receiving metal tab on the bracket and is fully seated.
- From inside the boot/trunk, align the assembly with the square cutout on the inner fuel flap panel and insert into position.
- Thread the locking nut onto the retainer from the fuel filler inside face while applying forward pressure to hold the assembly in place. Tighten until secure.
- Reconnect the release cable if required and test operation from the driver’s seat to confirm smooth pening and proper return.
*NOT INTENDED FOR ROAD USE
Share